
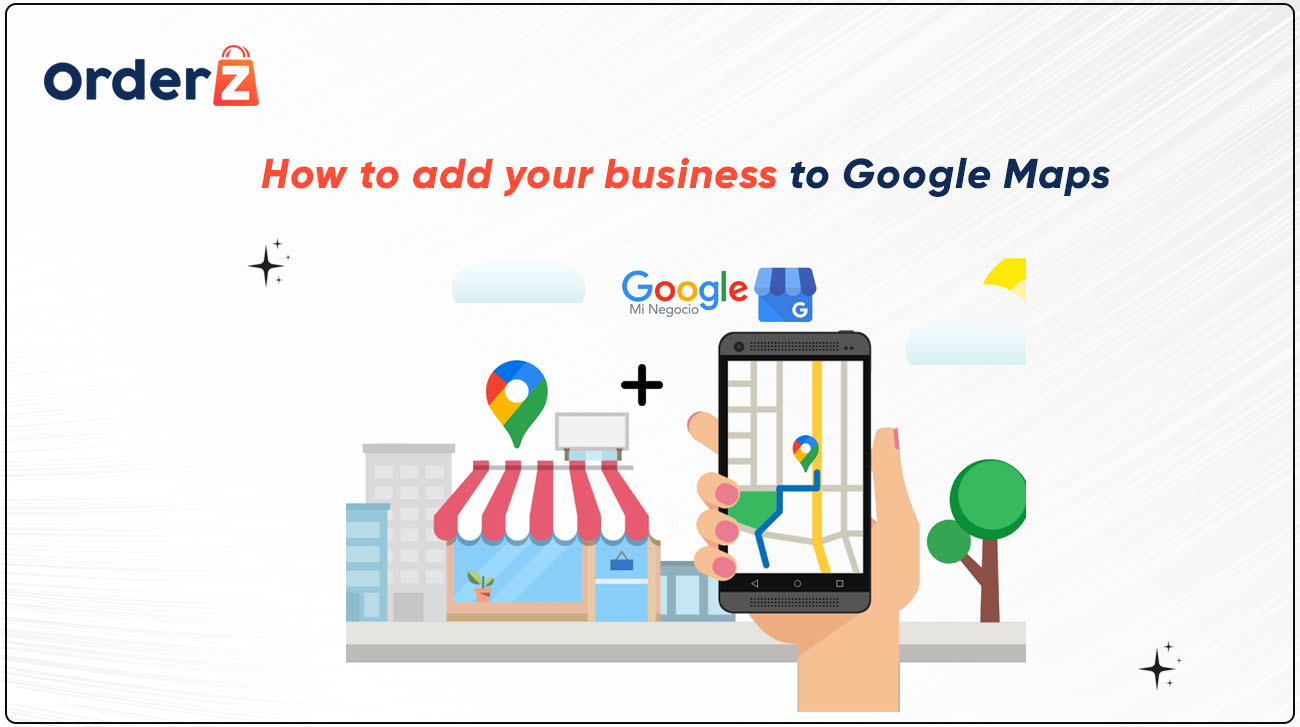
Google Maps is a useful tool for making businesses easier to find online by prospective buyers. It enables trades to display their address, contact details, and working times. A relatively fast and easy process, adding your business to Google Maps can greatly grow your online presence. We will walk you through the process of adding your business to Google Maps step-by-step in this blog.
What is Google’s business profile and how its work?
A Google Business Profile is a page that tells people about a business. It shows up on Google Maps and when people search for the business on Google. To make a Google Business Profile, a business owner needs to use a free tool called Google My Business. They can make a page for their business and share things like the business name, address, phone number, website, hours it’s open, pictures, and reviews from people who have been there.
When someone looks for a business on Google, they will see the Business Profile on the right-hand side of the page or in the “Maps” section. This makes it easy for people to find out important things about the business, like where it is, when it’s open, and how to contact it.
The person who owns the business can use their Google Business Profile to talk to customers by answering their reviews, adding pictures, and posting new things. This can help more people find out about the business and want to go there.
How to add your business to Google Maps:
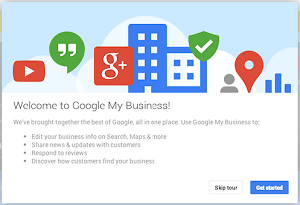
Step 1: Sign in to Google My Business
To add your business to Google Maps, My Business is a free tool provided by Google that allows you to handle your business data across Google, including on Google Maps. To get started, sign in to your Google account. If you don’t have an account yet, you can create one by seeing Google My Business and following the instructions.
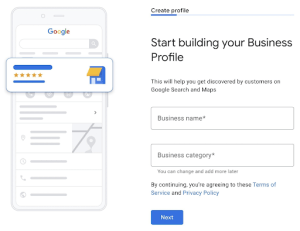
Step 2: Enter your business data
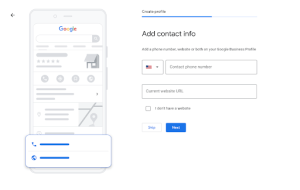
How to Add Your Business to Google Maps The second step is to log in to Google My Business and you’ll be asked to enter your business data. This includes your business name, address, phone number, website and category. Providing accurate and complete data is important as it helps buyers find your business on Google Maps.
When picking a category, try to be as specific as likely. This will help Google understand what your business does and show it to the right buyers. For example, if you run a bakery, you might like “Bakery” as your prior category, but you could also like “Cake Shop” or “Wedding Cake Shop” as other types.
Step 3: Verify your business
After you’ve entered your business data, Google will ask you to verify your business. This is to ensure that you’re the owner or an authorized representative of the business. You can choose to prove your business by mail, phone, or email and ” it depends on location, business type, etc”.
If you choose to verify your business by mail, Google will send you a postcard with a proof code. Once you get the postcard, log in to your Google My Business account and enter the code to verify your business. If you choose to verify by phone or email, Google will send you a proof code that you can enter on Google My Business. The verification process takes up to 7 days based on your business and location.
Step 4: Optimize your business listing

Once your business is proven, you can update your business listing by adding more data, such as photos, hours of process, and a report of your business. This will help your business stand out on Google Maps and attract more buyers.
To add photos, click on the “Photos” tab in your Google My Business dashboard and follow the prompts to upload photos of your business. You can also add a description of your business by clicking on the “Info” tab and scrolling down to the “From the business” section. Be sure to include keywords linked to your business to help enhance your ranking on Google Maps.
Step 5: Monitor your listing
After your business is listed on Google Maps, it’s vital to monitor your listing regularly to ensure that the data is valid and up-to-date. You can use the Google My Business dashboard to run your listing, react to reviews, and track your business version on Google Maps.
To monitor your listing, log in to your Google My Business account and check your dashboard for any updates or information. You can also use the “Insights” tab to see how many people are viewing your business listing, how they’re seeing your Business and other vital metrics.
Step 6: Set up Google Maps ads

Once you have set up your business listing on Google Maps through Google My Business, you may want to consider setting up Google Maps ads. These ads can help increase the visibility of your business on Google Maps and drive more traffic to your website or physical location. To set up Google Maps ads, you will need to create a Google Ads account and link it to your Google My Business account.
Create a Google Ads account: If you don’t already have a Google Ads account, you can create one by going to https://ads.google.com/ and following the prompts. Link your Google My Business account to Google Ads: Once you have a Google Ads account, you can link it to your Google My Business account by clicking on the “Tools & Settings” menu in Google Ads, selecting “Linked accounts,” and then clicking on “Google My Business.”
Create a Google Maps campaign: Once your accounts are linked, you can create a Google Maps campaign in Google Ads. This will allow you to create ads that will appear on Google Maps when users search for businesses in your area.
Set your targeting and budget: When setting up your Google Maps campaign, you can choose which locations you want to target, as well as other demographics such as age and gender. You can also set a budget for your campaign, which will determine how much you will pay each time someone clicks on your ad.
Create your ad: Finally, you will need to create your Google Maps ad. This can include a headline, description, and call-to-action, as well as a link to your website or a phone number that users can call directly from the ad.
Final take
How to add your business to Google Maps by following these six steps You will understand that in detail. Adding your business to Google Maps is an important step in increasing your online visibility and driving more customers to your business. The process of adding your business to Google Maps is easy and can boost your online visibility and draw in more buyers. These steps will help you create a thorough business listing that accurately defines your business and makes you stand out on Google Maps.
A vital first step in growing your business’s online presence and luring more buyers is adding your business to Google Maps. You may make a Google My Business account, show your trade, add your business data, optimise your listing, and monitor your listing to make sure it’s accurate by tying to these easy steps. Buyers may access the zone, feedback, and photographs of your business with ease if it is featured on Google Maps, which may grow foot traffic to your place.